Tests to check your VPN is not leaking information
Tests To Check How Secure Your VPN Is
One of the dirty little secrets of the VPN industry is that many of them leak. For instance, an analysis of VPN android apps shows that as much as 84% and 66% of them leak IPv6 and DNS traffic respectively, with 18% of them lacking encryption for their tunnelling technologies. These are the likes of not routing the IPv6 traffic through the required VPN tunnel making it easier for user monitoring, or failing to forward the DNS traffic through the tunnel, which allows the in-path observers to monitor the user’s DNS networking activity.
The result? Users are not sufficiently protected from tracking and online surveillance. Risks are higher with the free VPNs, but there will be some premium VPNs that leak out your information. The security of the VPN is not dependent on whether you’re using free or paid software, mobile or PC versions, since they can have both intentional and unknown anomalies that result in the leaks. For example, the leakage can be due to a bug in the software, or the VPN provider has actually set up the software to collect and share data with third parties.
How Private Is Your Connection?
With the VPN market growing – and predicted to exceed $35 billion by 2022, the popularity of the software is undeniable, but so are the security concerns. The traffic leaks can be attributed to actual design decisions – like skipping out on IPv6 support, or errors by the developers when making the routing parameter configurations of the VPN software. There are also abusive practices by the VPNs themselves, such incorporating JavaScript for user tracking and advertisement needs, to redirect e-commerce traffic to their affiliate partners. You end up with a situation where a majority of the VPN services marketing themselves as the optimal privacy solutions actually leak out your DNS requests and/or IP address all over the net.
Are you truly protected? Here, we will look at VPN tests that you can carry out to determine if your identity and network activities are kept private and secure:
Quick and easy tests
- DNS Leak Test
DNS – Domain Name System, is the technology allowing easy website access. To connect to the internet, the DNS server translates the address of a website like “www.heidi.ie” into a numerical IP address like 168.251.226.14.
This DNS service is usually provided by your ISP, unless you indicate a particular DNS server that you want to connect to. In such a situation, your ISP (Internet Service Provider) will still know that you have connected to the different DNS server. What’s more, the ISP can log the results, which are clear test logs showing each website that you’ve visited. This data can then be sold off to third parties, like advertisers.
Enter the VPN. Your actual IP address is replaced by one from the VPN server, thus preventing the connection from being traced back to you. Anyone monitoring the connection should, ideally, not see beyond the address that you’ve been assigned by the VPN, thus preventing the traffic from being identified with you. The DNS leak takes place when the translation request gets leaked out of the VPN tunnel, which exposes the location and IP address of your Internet Service Provider. This information can then be linked back to you, which includes exposing your browsing history.
The DNS leak test comes in to ensure that your VPN software is performing its role of hiding your location, and not leaking the IP address out of the protected VPN tunnel. For this, simply run an IP check. A simple “What is my IP” search on Google will show you the result, which you then compare to the IP from your VPN.
You can also use these checks:
- https://www.dnsleaktest.com/
- https://thevpn.guru/what-is-my-ip-address/
- https://torguard.net/vpn-dns-leak-test.php
- https://ipleak.net/
For a properly functioning VPN, it should show the private address assigned to you by the VPN. It should not show your actual IP address. Some DNS leak tests end up showing the IP address of the Internet Service Provider. While this still gives you a level of privacy, it shows that there is problem with this configuration of the VPN.
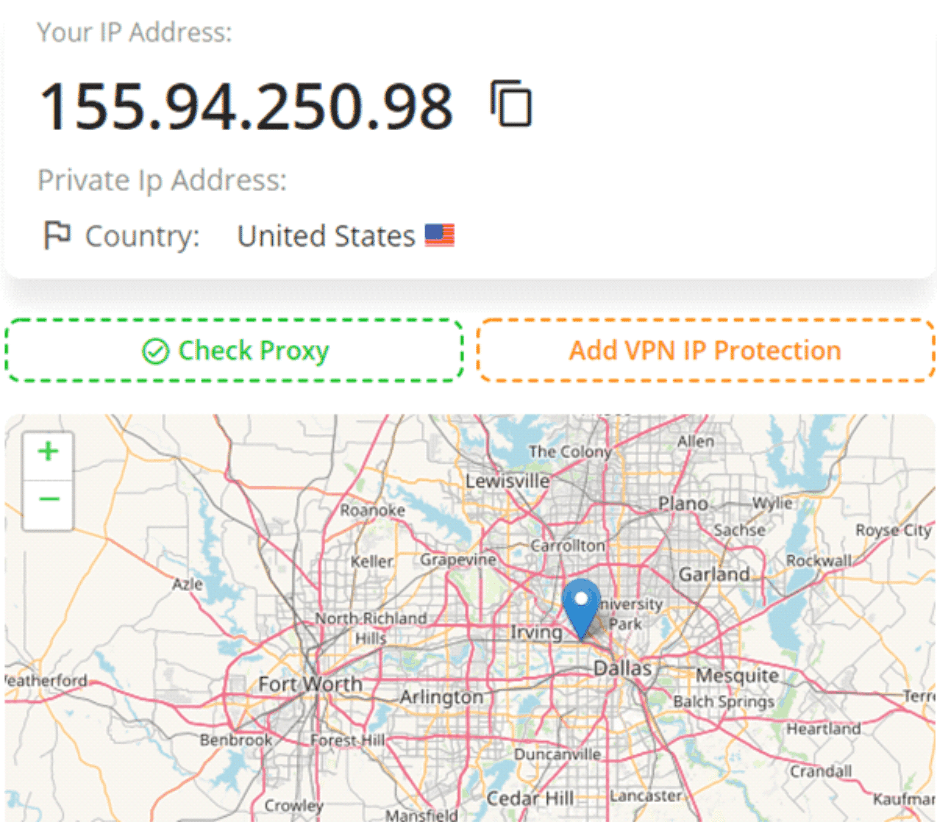
For instance, on firing up a VPN and connecting to its Texas server, these were the results:

This is the address that is provided to us by the VPN service, and the location is that of its server. We are actually a continent (and an ocean) away, meaning that there is no leakage – since the region itself is not even remotely close.
If you notice that your VPN is leaking your DNS data, then you should switch to a different service provider, preferably one that operates its own DNS system which is fully encrypted. This will hide both your location and that of your ISP address.
There are also those who choose to alter the operating system configurations manually, setting it to use a third-party DNS provider, such as the alternative DNS options provided by WikiLeaks. Remember that you still run the risk of these DNS providers keeping request logs, thus the emphasis on getting a VPN provider has been verified to be keeping no logs.
- IP Address Leak Test
This takes you a step further, to identify whether the VPN you’re using is leaking out your location and IP address. This test should be done when connecting to the internet, and reconnecting to it. Why? Because there are situations where your connection to the VPN is dropped, necessitating the software to reconnect with the internet, and in the process leaks out your IP address. This is where the “Kill Switch” feature of the VPN provider should kick in. Here, the VPN completely disconnects you from the internet.
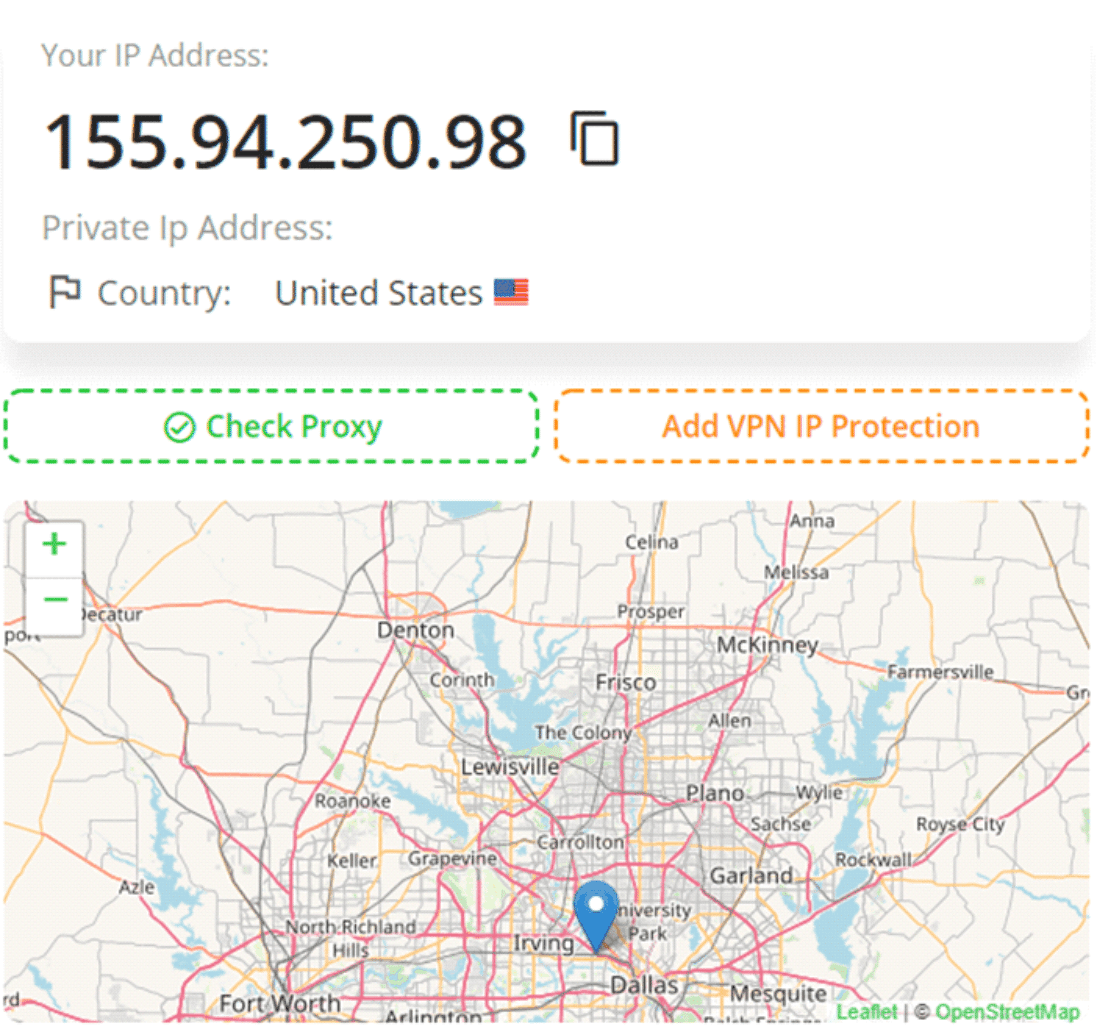
This is how you perform the test: From our initial test with our VPN provider, the resultant IP address was 155.94.250.98. So, we disconnect from the internet, and then reconnect. The VPN automatically reconnects to the server, and these are the results:

The same result was obtained. Meaning that there was no leakage. Note that you should take the extra measure of ensuring that your VPN service has the “Kill Switch” feature in place.
For the reconnection bit, the test has a couple of more steps:
- Establish the connection to the internet and to the VPN service.
- Open your browser and head to an IP address test page. You can use any of the tools mentioned above. Here’s the kicker: Open multiple tabs. Certainly, at this point, they are all showing the same address that has been assigned by the VPN.
- Disconnect from the internet. Keep the VPN running.
- Allow some time to pass. A couple of seconds should do.
- Reconnect to the internet, and quickly refresh the open tabs while the VPN is in the process of establishing the connection.
- Stop refreshing the tabs immediately the VPS has reconnected to the internet.
- Check the results in each of the browser tabs.
If there is an IP address leak during the reconnection, then you should notice your real IP address in one or even more of the tabs. In case you establish that there is a leak, you should activate the Kill Switch feature in the VPN app. If the leakage is still occurring when the feature is active, then you should switch to a different VPN provider.
You can also set up firewall rules that will block all the non-VPN traffic. However, this is a manual process, and can be quite the hassle.
Sites like IPLEAK.NET give you an extended IP address test. Here, it looks at your Java, Flash, and DNS, ensuring that they don’t leak out your IP. It looks through all the sources that are in the browser being used, showing the IP that has been detected.
- WebRTC Leak test
While this is a common issue when discussing VPN services, the WebRTC leaks are actually a vulnerability with the web browsers being used. These are the likes of Chrome, Safari, Firefox, Microsoft Edge, Opera and Brave browsers, which essentially become the weak link in the chain.
What is it? WebRTC – short for “Web Real-Time Communication”, allows P2P filesharing, voice and video chats within the browser. This technology enables real-time communication without requiring additional browser extensions. The leak occurs when your IP address is exposed through the chats and file-sharing sessions, which can occur even when the VPN is working as intended.
You can use these tools to check for the WebRTC leaks:
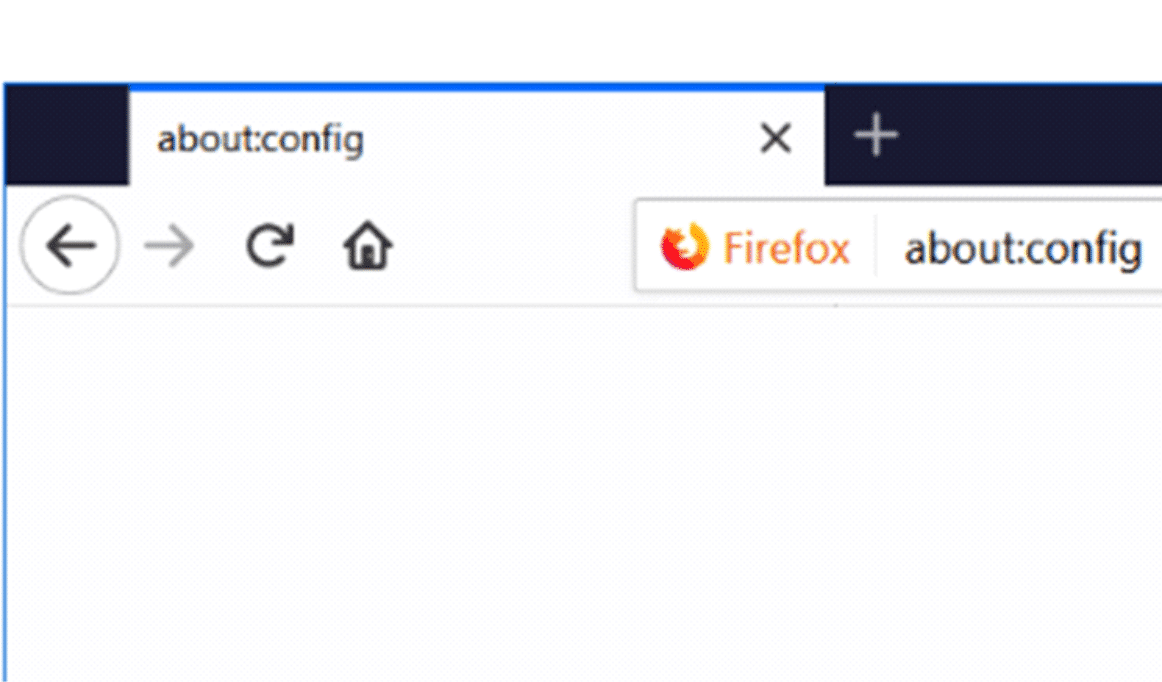
To prevent the WebRTC leaks, disable the feature from the browser itself. For instance, with Firefox, type in “about:config” into the address bar.

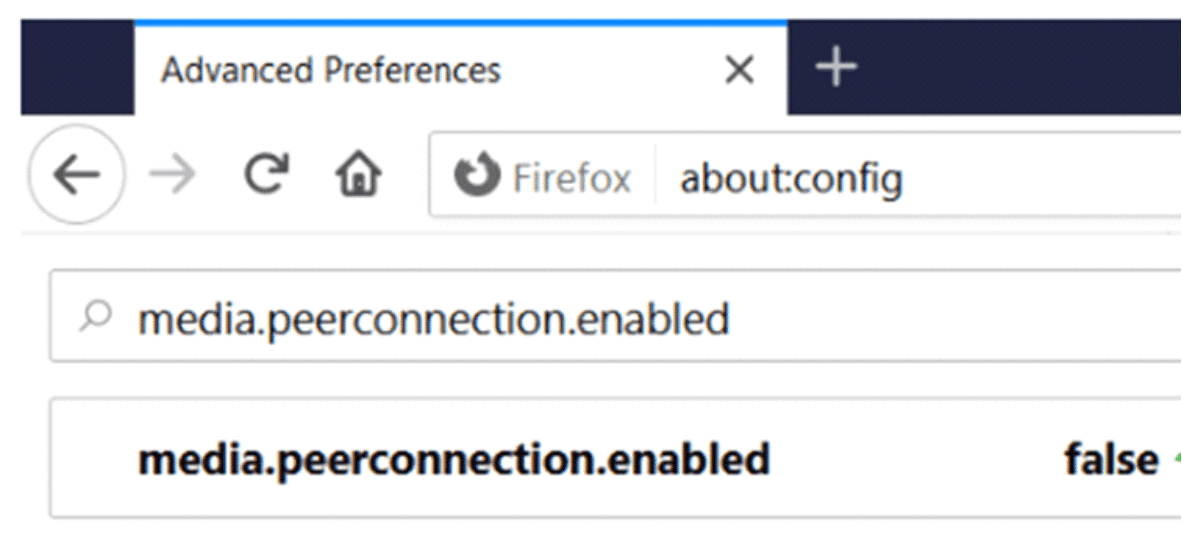
A warning will pop. Agree to it, and click “continue”. In the search box, proceed to type “media.peerconnection.enabled”. Toggle the preference to false, as shown below.

For Chrome and other Chromium-based browsers where WebRTC disabling is not possible, you can use add-ons or extensions, such as webrtc.org’s official extension for Chrome.
Advanced Tests
These will be technical, and will require more proficiency to be properly executed. They will point out any leaks that may be happening with your VPN provider. These are the likes of Express VPN’s testing suite that is used for in-depth testing of leaks. You can get the open source tools from GitHub. They use these tools when testing their own VPN to ensure that it is leak-proof. To carry out the test, setting up the machines and identifying the leaks, use this quick start guide.
Closing Remarks
It is recommended that you run the VPN leak test even when using the premium service providers. If they are functioning as intended, then there shouldn’t be any leak detected, meaning that your connection is private and secure.
NEED A VPN?
Check out the range

